Monday, April 23, 2012

Brown Sugar Cookies

Given a choice of cookie--chocolate chip, oatmeal, peanut butter, and so on--I'll always choose a sugar cookie last. I like them just fine, but there are just so many better cookies out there. But I might have fallen a little in love with these brown sugar cookies. Made with browned butter and brown sugar, these cookies have a deeper, richer taste than traditional sugar cookies. The browned butter gives it a nutty flavor while the brown sugar gives it complexity. Eric, who loves sugar cookies (especially with frosting) might just favor the brown sugar version too.

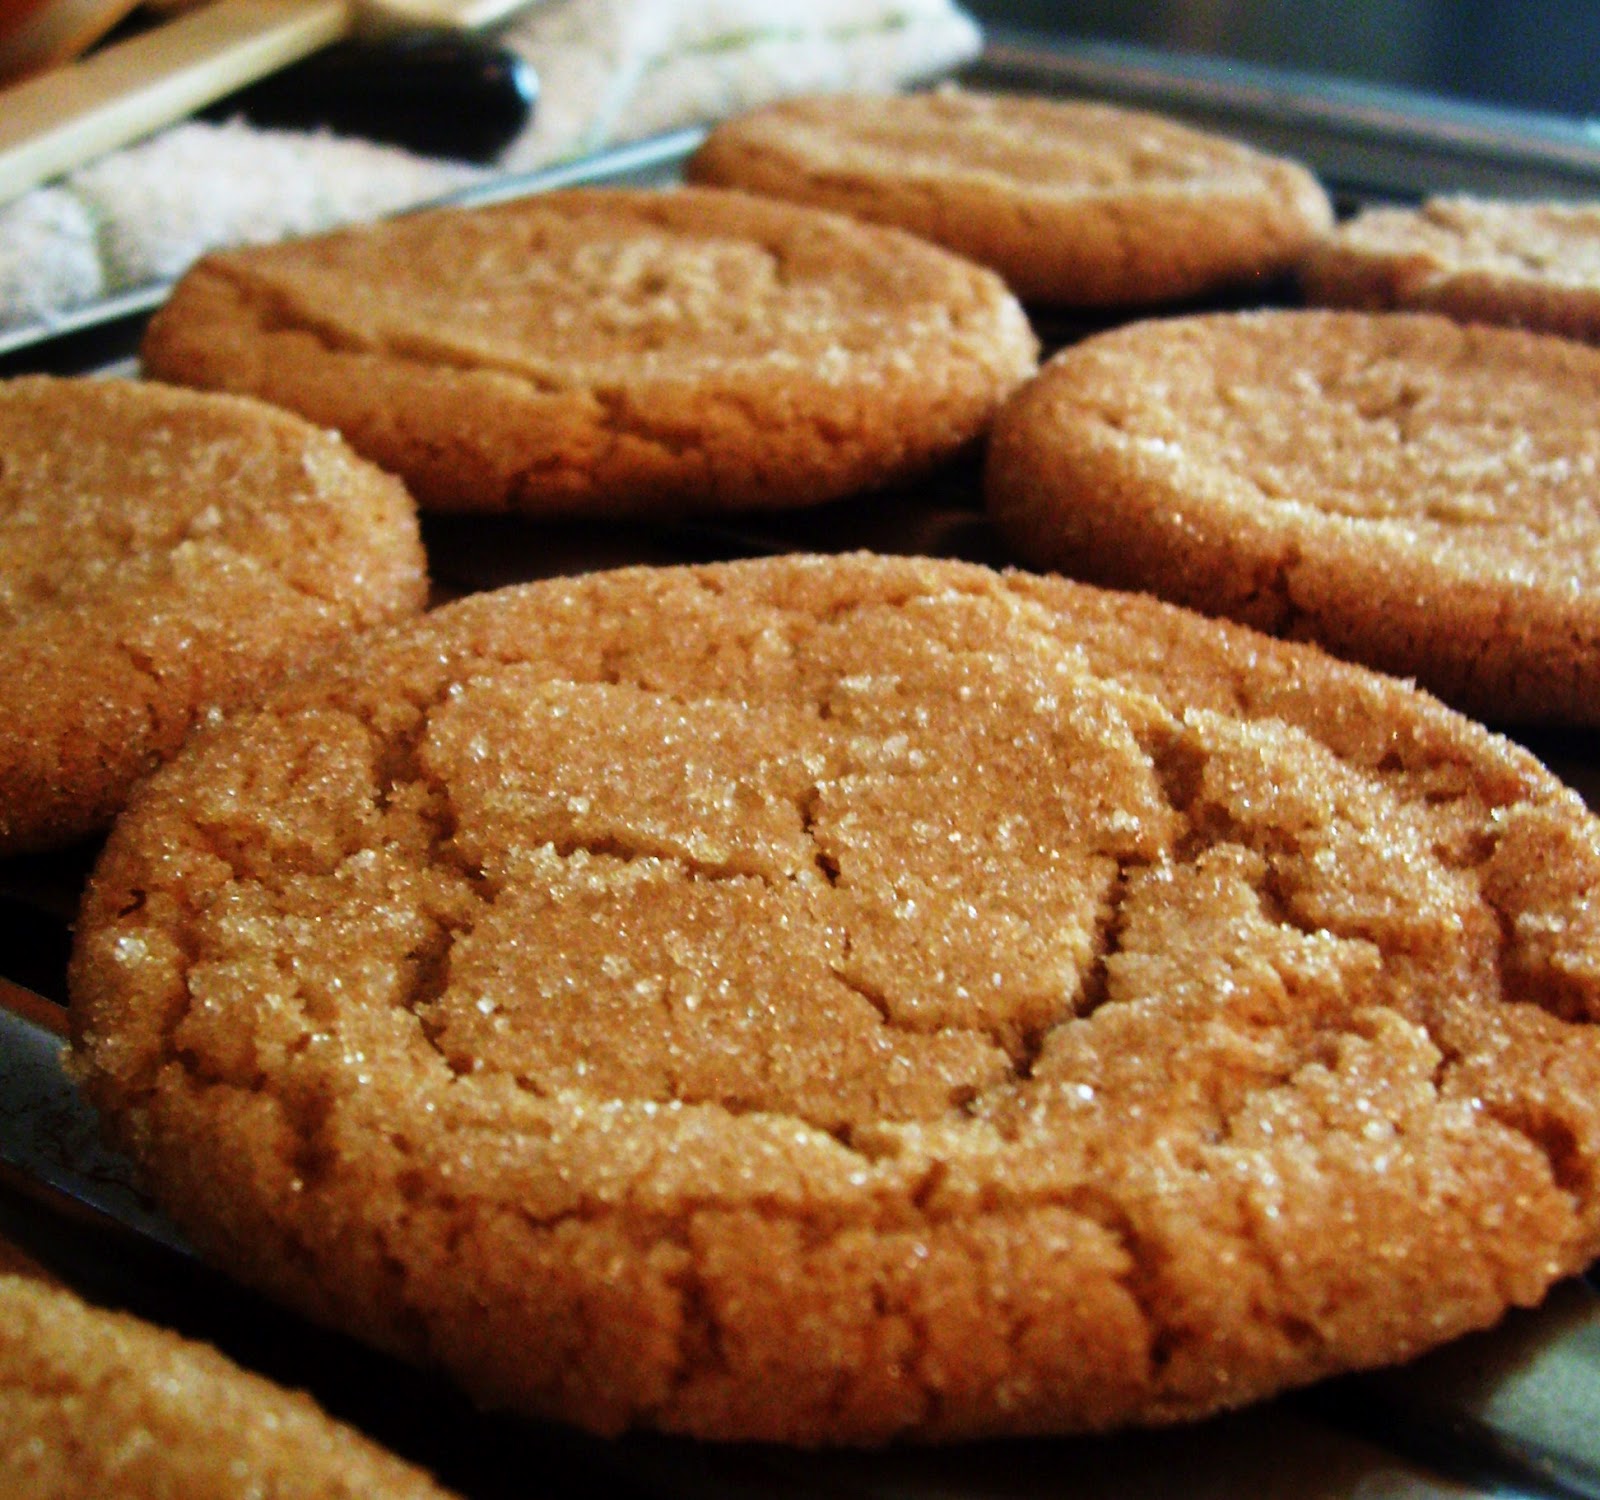
I have never had cookies come out of the oven looking more perfect and pretty than these.
Ingredients:
14 tablespoons unsalted butter, divided
1/4 cup granulated sugar
2 cups packed brown sugar, divided
2 cups all-purpose flour plus 2 tablespoons
1/2 teaspoons baking soda
1/4 teaspoon baking powder
1/2 teaspoon salt
1 large egg
1 large egg yolk
1 tablespoon vanilla extract

Directions:
Position the oven rack in the middle of the oven and heat to 350 degrees. Line two cookie sheets with foil.

In a skillet, melt 10 tablespoons of butter over medium-high heat. Once melted, continue to cook, stirring constantly, until butter turns a dark golden brown and gives off a nutty aroma, about 2 or 3 minutes. Pour the browned butter into a large, heat-proof bowl. Stir in the remaining 4 tablespoon of butter. Allow butter to cool for approximately 15 minutes.

In a shallow dish, combine the granulated sugar and 1/4 cup packed brown sugar by rubbing the two between your fingers until well combined. Set aside.

In a medium bowl, combine the flour, baking soda, and baking powder. Set aside.

Add remaining 1 3/4 cups brown sugar and salt to the butter. Mix on medium-low speed until there are no sugar lumps left. Add egg, yolk, and vanilla, and mix again on medium-low speed until well combined. Pour in the flour mixture and mix until filly incorporated.

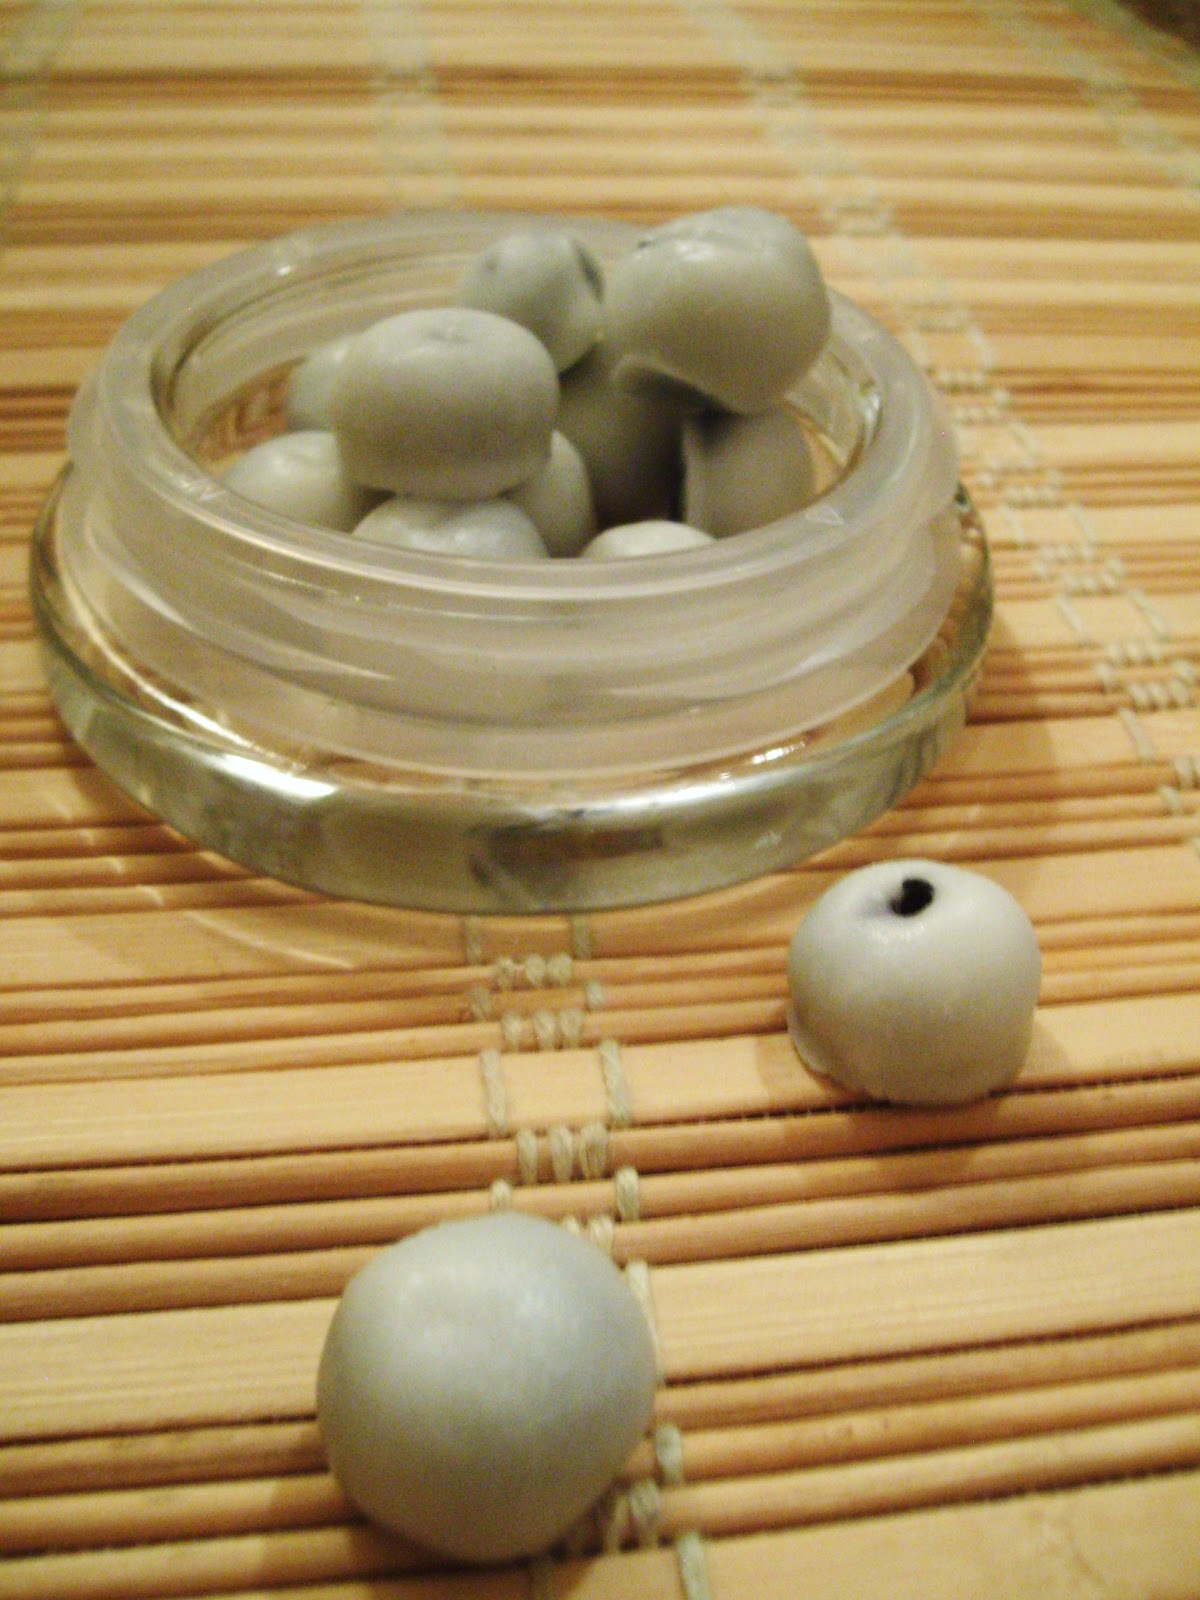
Roll a heaping tablespoon of dough into a ball, roll the ball in the sugar mixture and place on the prepared baking sheet, spacing the balls approximately 2 inches apart.

Bake one cookie sheet at time for 10 to 12 minutes or until the cookies are browned and puffy, the edges have set, and the centers still look soft. Rotate the baking sheet halfway through the baking process.

Transfer the cookies to a wire rack and allow the cookies to cool.

This recipes comes from Cook's Illustrated.

Enjoy!

~Krissy

Wednesday, April 18, 2012

Chocolate Chip Cookie in a Mug!

This has to be one of the coolest recipes I've found on Pinterest. I've seen numerous recipes for cakes-in-mugs that bake in the microwave and even tried a few. But this is the first recipe I have ever seen for a cookie-in-a-mug. It is everything that a homemade chocolate chip cookie should be--warm, soft, and delicious. I found this recipe on the blog No. 2 Pencil and didn't have to change a thing! She also has recipes for Peanut Butter Cookie in a Cup and Sugar Cookie in a Cup.

My chocolate chips look melted because I used a leftover chocolate ganache Easter egg in place of chocolate chips.

Ingredients:
1 tablespoon butter
1 tablespoon white granulated sugar
1 tablespoon brown sugar, packed
3 drops of vanilla extract
pinch of salt
1 egg yolk
scant 1/4 cup of flour
2 tablespoon chocolate chips

Directions:
Melt the butter in your mug in the microwave. Stir in white sugar, brown sugar, vanilla extract, and salt. Add the egg yolk to the mug; discard the whites. Stir. Pour in flour and mix. Stir in the chocolate chips. Bake in the microwave for 40 to 60 seconds. Allow to cool a bit (I was so eager to taste the cookie that I burnt my tongue) and serve warm.

Another great thing about a cookie-in-a-cup? No bowls, cookie sheets, mixers, or spatulas to clean. Where were all these in-a-mug recipes when I was in college?

Enjoy!

~Krissy

More Mug Recipes:
Chocolate-Hazelnut Mug Cake
Chocolate Peanut Butter Mug Cake
Gluten-Free Mug Cake
Fluffernutter Mug Cake
Pumpkin Mug Cake with Cream Cheese Frosting

Tuesday, April 17, 2012

Roasted Stuffed Onions

There are three roasted stuffed onion recipes I've been dying to try. This is the first and probably the most time-consuming recipe. We're talking almost three hours worth of prepping and basting and cooking. Oh, but the time is worth it. The onions come out so tender, sweet, and delicious. The recipe comes from the Food Network Kitchen, but I made a few changes to their Baked Stuffed Onions based on preferences and what I had in the kitchen.

Roasted Stuffed Onion
Ingredients:
4 large Vidalia onions
7 tablespoon olive oil
2 garlic cloves, minced
1 cup frozen spinach, thawed, drained, and coarsely chopped
1 tablespoon lemon zest
2 eggs, lightly beaten
2 cups sourdough breadcrumbs
3/4 cup blue cheese, crumbled
1 tablespoon dried thyme, plus 2 teaspoon thyme
kosher salt
black pepper
pinch of cayenne pepper

Directions:
Preheat oven to 425 degrees.

Cut off the ends of the onions, peel skins off, and then cut them in half horizontally. Place the onions cut-side up in a baking dish. Drizzle them with 3 tablespoons of oil. Sprinkle 1 tablespoon of thyme over top of them, then sprinkle with salt and pepper. Pour 2 cups of water into the bottom of the baking dish, cover with tin coil, and bake for 1 hour. 

Remove the tin foil and continue to bake for another hour or until the edges brown, basting the onions with the pan juices every 10 to 15 minutes. Remove from oven and allow the onions to cool.

Roasted
While the onions cool, heat 2 tablespoon of olive oil in a large skillet and saute the garlic over medium-high heat until it's a golden brown. Remove the garlic from the pan and reserve. Add the spinach to the pan. Season with salt and pepper. Stirring, cook spinach until it crisps, 2-3 minutes, and remove from pan.


Adjust the oven to 350 degrees.

Scoop out the middle of each onion, leaving a 2 or 3 rings of outer layers.

Onion Bowls
Chop 1/3 cup of the onion centers. Store the remaining onion for another use. In a large mixing bowl, combine the chopped onion, spinach, lemon zest, sauted garlic, eggs, cayenne pepper, breadcrumbs, 2 teaspoon thyme, and blue cheese. Season with salt and pepper. Divide the stuffing evenly among the onion bowls. Drizzle with the last 2 tablespoon of olive oil and bake for another 30 minutes.

Stuffed Onion served with Tomato and Artichoke Chicken
Enjoy!

~Krissy

Sunday, April 8, 2012

Chocolate Ganache Easter Eggs

Chocolate ganache sounds so fancy and sophisticated that you wouldn't think that it's incredibly easy to make. Once I made cupcakes in an Easter egg, I didn't see why I couldn't fill an eggshell with the chocolate ganache to make a chocolate Easter egg. Guess what? It worked.


Ingredients:
6 large, hollowed-out eggshells
2 cups chocolate chips
1/2 cup heavy cream
1/2 teaspoon vanilla extract

Directions:
To hollow out the eggshells, poke a small hole in the top of each egg. You can use a corkscrew, nail, small screwdriver, or ice pick to make the hole. You will need a hole large enough to fit the tip of a pastry bag, so widen the hole by carefully breaking the edges.

To get the egg out of the shell, use a skewer to scramble the yolk and whites. Then pour the egg into a bowl to use for another purpose (French toast, scrambled eggs, a cake).

Rinse the eggshell out with water and set it upside-down on a paper towel to dry. When the eggs are dry, place them on a cookie sheet and bake them for 10 minutes at 300 degrees in order to kill any bacteria.

If you want, you can then dye the eggs to make them more festive. I did this using Kool-Aid.

Eggs dyed with tropical punch Kool-Aid
As your eggshells cool, make your chocolate ganache. Pour the chocolate chips (you can use milk chocolate, semi-sweet, or dark chocolate) in a large heat-proof bowl.

In a small saucepan, bring the cream to a boil. Remove from heat and pour over the chocolate chips. Let sit for one minute then add the vanilla extract and stir the mixture until the chocolate is smooth and shiny. Transfer the ganache to a pastry bag or a Ziploc bag with the corner cut off (this is what I did). Place the eggshells in an egg carton, hole side up. Pipe the chocolate into the eggs, frequently giving the eggshell a little shake. This will prevent air bubbles. Fill to the very top.


Place in the freezer overnight. Before serving, allow the chocolate ganache eggs to sit out for about thirty minutes.


Peel the egg and enjoy!

Happy Easter!

~Krissy

Cupcakes Baked Inside an Easter Egg

Easter candy is probably my favorite candy. I love jelly beans, robin eggs, Cadbury eggs, chocolate bunnies and so on. This year I hoped to make some of my own Easter candy. But Easter seemed to creep up on me this year, so the homemade jelly beans and Cadbury eggs will have to wait until next year. But I was able to make cupcakes inside an Easter eggs (and chocolate ganache Easter eggs). This recipe comes from the Cupcake Project. Not only is it a cool concept, but the cake comes out tasty and incredibly moist.


Ingredients:
8 large, hollowed out eggshells
1/2 cup flour
1/4 teaspoon baking powder
1/8 teaspoon baking soda
pinch of salt
1 egg
1/2 cup sugar
1/4 cup butter, room temperature
1/2 teaspoon vanilla extract
1/4 cup sour cream
food coloring, optional

Directions:
To hollow out the eggshells, poke a small hole in the top of each egg. I followed the Cupcake Project's suggest of using a corkscrew bottle opener. When I was a kid, my mom always made us an Easter tree. In case you don't know what an Easter tree is (Eric had never heard of one before he met me), it's a tree--we always used branches for the tree, but you could use a fake tree from a craft store--decorated with colored Easter eggs that have been hollowed. If I remembered correctly, my mom used a nail to make the tiny hole in the eggs. You could also use an ice pick or even a small screwdriver. For this recipe you need the hole large enough to fit the tip of a pastry bag, so widen the hole by carefully breaking the edges.

To get the egg out of the shell, use a skewer to scramble the yolk and whites. Then pour the egg into a bowl to use for another purpose (French toast, scrambled eggs, a cake).

Rinse the eggshell out with water and set it upside-down on a paper towel to dry. When the eggs are dry, place them on a cookie sheet and bake them for 10 minutes at 300 degrees in order to kill any bacteria.

If you want, you can then dye the eggs to make them more festive. I did this using Kool-Aid.


As your eggshells cool, make your batter. In a small bowl, mix the flour, baking powder, baking soda and salt together. Set aside. In a large bowl, combine the egg and sugar until the mixture is creamy. Stir in the butter and vanilla extract. Add the dry ingredients and mix until well combined. Finally, stir in the sour cream and food coloring (if desired. I made my cupcakes green).

Position the eggshells in a cupcake tin, using tin foil to help them stand up straight. Transfer the batter into a pastry bag, or a plastic Ziploc bag with the corner cut off (this is what I did). Pipe the batter into the eggshell. The cake will rise so only fill it 3/4 full.

3/4 full
The Cupcake Project warned that this can be a bit difficult to judge (it was!), so if your cupcakes overflow (mine did!) you can just clean them off after they bake.

top right egg cleaned of overflow
Bake at 350 degrees for 23-25 minutes.

Let the cupcakes cool, peel, and enjoy!


It looks like a regular Easter egg
But it's a cupcake!


Happy Easter!

~Krissy

Kool-Aid Easter Eggs!

Why spend money on Easter egg dye when you probably have all you need in your pantry? Thanks to Pinterest, I discovered that I could use Kool-Aid and water to color my Easter eggs--no smelly vinegar needed! Since time kind of got away from me this year and I had eggs to color along with homemade Easter candy to make (chocolate ganache eggs and cupcakes baked inside eggshells) the night before Easter, I only used one flavor/color of Kool-Aid to dye all my eggs: tropical punch. The eggs came out a vibrant orange-ish red and smelled fantastic--but don't worry, the smell quickly fades and won't taint the taste of the hard boiled egg.


Ingredients:
Eggs, hard boiled or hollowed (mine were hollowed)
Kool-Aid packets
2/3 cup lukewarm water per Kool-aid packet

Directions:
Pour the water into a mug or cup. Stir in one packet of Kool-Aid until it's completely dissolved. Place egg in the cup. It won't take long for your egg to turn a bright color. Remove the egg from the cup using a slotted spoon and place in an egg carton to dry. You can also use your fingers to remove the egg, but your fingers will look like this for a few hours:


And that's all there is too it!

Happy Easter!

~Krissy

Wednesday, April 4, 2012

Three Layer Carrot Cake with Cream Cheese Frosting

So today is Eric's mom's birthday! (Happy Birthday Edye!) She loves carrot cake and found a recipe for a three layer carrot cake with a cream cheese frosting that she couldn't wait to try. Together we baked the cake, making a few alterations as we went along, and it turned out absolutely fantastic. It had everything you'd want in a carrot cake: carroty, cinnamon-y, and ginger-y. And the cream cheese frosting . . . to die for.

naked carrot cakes

Cake Ingredients:
2 cups all-purpose flour
3/4 cup granulated sugar
2 teaspoons baking powder
1 1/2 teaspoons baking soda
1 teaspoon salt
2 teaspoons ground cinnamon
1 teaspoon ground ginger
1 cup pecans, coarsely chopped
1/2 cup raisins
3/4 cup vegetable oil
1/4 cup water
1 teaspoon lemon zest, finely grated
4 eggs
3 cups shredded carrots

Directions:
Preheat oven to 350 degrees. Line the bottoms of three 8-inch cake pans with waxed paper or parchment and grease the sides of the pans with cooking spray. Set aside.

In one large bowl, combine flour, sugar, baking powder, baking soda, salt, cinnamon, ginger, pecans, and raisins. In another large bowl, whisk together the vegetable oil, lemon zest, and eggs. Stir in the carrots, then gradually mix the flour mixture into the liquid mixture. Divide the batter evenly between the three cake pans.

Bake for 20 to 25 minutes or until a toothpick comes out clean. Allow to cool then remove the cakes from the pans and place on a rack. Let the cakes cool completely.

cream cheese frosting
Cream Cheese Frosting Ingredients:
3 8-ounces packages of low fat cream cheeses, softened
12 tablespoons unsalted butter (1 1/2 sticks), room temperature
3 cups powdered sugar
1 tablespoon lemon juice
1 tablespoon vanilla extract
1 pinch of salt
1-4 tablespoons of milk

Directions:
Beat the cream cheese and butter in a large bowl on medium-high speed until mixture is smooth. Add the vanilla, lemon juice, and salt. One cup at a time, beat in the powdered sugar. Add the milk a tablespoon at a time until you have the consistency that you want. 

Place one cake on your serving platter and spread approximately 3/4 cup frosting on top of the cake. Stack the second cake on top and spread another 3/4 cup frosting on top. Add the final cake on top and spread a thin layer of frosting on top of it. Place the cake in the refrigerator for one hour to allow frosting to set. Store your leftover frosting in the fridge as well. Once frosting has set, frost the rest of the cake.  Refrigerate until ready to serve.

Enjoy!

Happy Birthday!

 ~Krissy

Yogurt-Covered Blueberries

We all know fruit and yogurt go together as symbiotically as peanut butter and jelly. Here's a different way to enjoy the delicious fruit-yogurt combo: coat the fruit (in this case blueberries) in yogurt, freeze, then enjoy as a healthy snack. These are particularly delectable on a hot summer day. I also like to add them to my Special K cereal in the morning. Despite not being packed full of sugar or fried, Eric will snack on them by the handful. They're that good.


Ingredients:
nonfat vanilla or Greek yogurt
fresh blueberries, rinsed and dried

Directions:
Line a baking sheet with waxed paper or parchment paper.

Skewer a blueberry on a toothpick, dip the berry into the yogurt, and then use a second toothpick to push the blueberry onto the baking sheet. Repeat with the rest of your blueberries. Place the baking sheet in the freezer for at least 3 hours. Store the blueberries in an air-tight bag in the freezer.

Enjoy!
 
~Krissy