Tuesday, December 24, 2013

Sugared Cranberries

Merry Christmas!


So back in November I told you that I was obsessed with cranberries. Well, the craze continues with these sugared cranberries. So sparkly and pretty, they are the perfect garnish for cakes, pies, cupcakes, or in my case mini cheesecakes. They're also not bad to snack on. I made yet another batch of chocolate covered cherries which I'm hoping make to Christmas--since I'm hosting my first one (yikes!)--without me eating them all. I also recently came across a recipe for drunken cranberries--cranberries soaked in alcohol. I cannot wait to try them out too! I don't have time to prepare them for Christmas but maybe for New Years Eve? I told you, I'm cranberry obsessed!

Recipe adapted from here.


Ingredients:
1/3 cup granulated sugar
1/3 cup water
2 cups fresh cranberries, room temperature
1 cup granulated sugar (for rolling)

Directions:
Place sugar and water into a sauce pan and heat over medium high heat, stirring. Bring to a boil. As soon as the sugar is completely dissolved, remove from heat. Pour in the cranberries. Using a wooden spoon or rubber spatula, make sure the cranberries are well coated in the simple syrup.

With a slotted spoon, place the cranberries on a wire rack or onto waxed paper and allow to dry for 45 minutes to an hour. Make sure the cranberries are separated to avoid clumps of the syrup on the berries.

Pour the remaining sugar in a shallow dish and roll cranberries in the sugar, coating completely. Place sugared cranberries on a clean wire rack or piece of waxed paper. Allow to dry for an hour. Store in an airtight container.


Enjoy!

~Krissy

Christmas 2013 Baking List
Dark Chocolate Cover Cranberries
Michigan Cranberry Brownies
Honey Cake
Soft and Chewy Gingerbread Men Cookies 
Christmas Kiss Cookies 
Gingerbread House 2013
Three Chocolate Truffles: Mint, Rum, and Orange
Cherry Snowball Cookies 
The Best Sugar Cookies 
Stained Glass Cookies

Monday, December 23, 2013

Stained Glass Cookies


Stained glass cookies are just so pretty and unique. I was fascinated by them the very first time I saw them on Pinterest. Well, this year I decided to give them a try. I used my own sugar cookie recipe instead of the one I commonly saw attached to stained glass cookie recipe because: a) my sugar cookie recipe is the best and b) I read some reviews that said the other recipe didn't taste very good. However, I will confess that my sugar cookie recipe dirties an awful lot of dishes, but the cookies are worth the mess.


Ingredients:
3 cups flour
1 teaspoon cream of tartar
1 teaspoon baking soda
1/2 teaspoon salt
2 eggs
4 teaspoon milk
1 teaspoon vanilla extract
2/3 cup unsalted butter, softened
1 1/3 cups granulated sugar
Jolly Ranchers, crushed (or any other hard, transparent candy)

Directions:
Medium Bowl: Combine flour, tartar, baking soda, and salt. Set aside.

Small Bowl: Stir together eggs, milk, and vanilla extract. Set aside.

Large Bowl: Beat butter with a mixer on medium speed for approximately 30 seconds. Add sugar and beat until fluffy. Alternating, add a little bit of the flour mixture then a little bit of the egg mixture to the butter mixture while beating. Once ingredients are combined, wrap the dough in wax paper and chill for 2 to 24 hours.

Preheat oven to 375 degrees.

Lightly flour your work surface and roll out the dough to 1/8-inch thickness. {I like to roll out dough between two lightly floured pieces of waxed paper}. Use cookie cutters to make cookies. Place the cookies on a cookie sheet lined with parchment paper {cookies are hard to transfer if you cut out center before placing them on the pan, I learned this the hard way}. Use second, smaller cookie cutter to cut out center of cookies. Completely fill the center of the cookies with the crushed candy. Be carefully not to get any candy on top of the cookie; the candy will color whatever it touches.

Bake for 5 to 7 minutes or until the bottoms of the cookies are a light golden brown. The candy in the center will bubble but that is okay. It will flatten out once it begins to cool.

Allow cookies to cool on the cookie sheet for at least five minutes then transfer to a wire rack to cool completely. {I found it best to transfer the sheet of parchment paper with the cookies on it to the wire rack, cool for about 5 to 10 minutes, then reuse the parchment paper for the next batch of cookies, but this isn't necessary.}

Tip: To crush the Jolly Ranchers, place them in a ziplock baggie and hit them with a meat mallet or a hammer.

UPDATE: Well, lesson learned. Store the cookies in the fridge or a cool place. I had mine in an airtight contained on the dining room table (which tends to be a very warm room) and the centers melted.

Blue raspberry, red cherry, and green apple

A little star cut out of my snowflake.

Crushed candy in the centers.

Snowflake Stained Glass Cookie


Mixing Candy Flavors

Candy bubbling in the centers.


Enjoy!

~Krissy

Christmas 2013 Baking List
Dark Chocolate Cover Cranberries
Michigan Cranberry Brownies
Honey Cake
Soft and Chewy Gingerbread Men Cookies 
Christmas Kiss Cookies 
Gingerbread House 2013
Three Chocolate Truffles: Mint, Rum, and Orange
Cherry Snowball Cookies 
The Best Sugar Cookies

Sunday, December 22, 2013

The Best Sugar Cookies


I'm not going to lie, this sugar cookie is a little bit of a pain to make, but it's so worth the sink of dirty dishes. For that reason I haven't made them for the last few Christmases. However, Eric loves his sugar cookies something fierce. And I wanted to use my delicious sugar cookies to make stain glass cookies. I turned the leftover dough into regular cookies.

This recipe comes from my mom, but because it dirts sooo many dishes, she has been on the search for an easier one that is just as good. She tried the store bought cookie mixes and I don't even know how many other recipes--she tested out yet another one for Thanksgiving. I ate one cookie and that was more than enough. Since I don't make sugar cookies often, I'm sticking to making the best sugar cookie recipe when I do, no matter the mess it makes.


Ingredients:
3 cups flour
1 teaspoon cream of tartar
1 teaspoon baking soda
1/2 teaspoon salt
2 eggs
4 teaspoon milk
1 teaspoon vanilla extract
2/3 cup unsalted butter, softened
1 1/3 cups granulated sugar

Directions:
Medium Bowl: Combine flour, tartar, baking soda, and salt. Set aside.

Small Bowl: Stir together eggs, milk, and vanilla extract. Set aside.

Large Bowl: Beat butter with a mixer on medium speed for approximately 30 seconds. Add sugar and beat until fluffy. Alternating, add a little bit of the flour mixture then a little bit of the egg mixture to the butter mixture while beating. Once ingredients are combined, wrap the dough in wax paper and chill for 2 to 24 hours.

Preheat oven to 375 degrees.

Lightly flour your work surface and roll out the dough to 1/4- to 1/8-inch thickness. (I like to roll out dough between two lightly floured pieces of waxed paper). Use cookie cutters to make cookies. Place the cookies on an ungreased cookie sheet. Bake for 5 to 7 minutes or until the bottoms of the cookies are a light golden brown.

If desired, frost with royal icing.


Enjoy!

~Krissy

Christmas 2013 Baking List
Dark Chocolate Cover Cranberries
Michigan Cranberry Brownies
Honey Cake
Soft and Chewy Gingerbread Men Cookies 
Christmas Kiss Cookies 
Gingerbread House 2013
Three Chocolate Truffles: Mint, Rum, and Orange
Cherry Snowball Cookies
Stained Glass Cookies

Saturday, December 21, 2013

Cherry Snowball Cookies


I had a jar of maraschino cherries that I had no idea what to do with. I love cherries, but I didn't get an early enough start on my Christmas baking to make chocolate covered cherries, and no other cherry recipes came to mind. Then I stumbled across this recipe on Pinterest and I knew what to do with that jar of cherries.

They are like Russian tea cookies, but cherry flavored!

Recipe adapted from here.


Ingredients:
2/3 cups coarsely chopped marachino cherries, drained and patted dry
1 cup butter, softened
1/2 cup powdered sugar, plus additional for rolling
1 teaspoon almond extract
2 cups flour
3/4 cup walnuts, toasted and finely chopped*

Directions:
Preheat oven to 325 degrees.

Beat butter in a large bowl with an electric mixer on medium for about 30 seconds. Add the sugar and almond extract. Beat until well combined. Gradually mix in flour. Stir in the walnuts and cherries.

Shape balls into 1-inch balls and place them 2 inches apart on an ungreased cookie sheet. Bake for 18 to 20 minutes or until the bottoms are a light golden brown. Allow the cookies to cool for 5 minutes.

Place powder sugar in a shallow dish, roll cookies in sugar, and place on a wire rack to cool. Once the cookies are completely cooled, roll once more in powdered sugar if desired.

Store in an airtight container.

*How to toast nuts: Preheat oven to 325 degrees. Place nuts in a single layer on a cookie sheet. Bake for 8 to 10 minutes or until the nuts are a light golden brown. Stir the nuts half way through baking. Allow to cool.

Before the powdered sugar

One coat of powdered sugar

Finished product!

Enjoy!

~Krissy

Christmas 2013 Baking List
Dark Chocolate Cover Cranberries
Michigan Cranberry Brownies
Honey Cake
Soft and Chewy Gingerbread Men Cookies 
Christmas Kiss Cookies 
Gingerbread House 2013
Three Chocolate Truffles: Mint, Rum, and Orange
The Best Sugar Cookies
Stained Glass Cookies

Monday, December 16, 2013

Three Chocolate Truffles: Mint, Rum, and Orange


Okay, so chocolate truffles have made an appearance on this blog before. I made mint chocolate truffles a couple of Christmases ago. And this is pretty much the same recipe except I changed a few flavors. But I am in love with chocolate truffles. I have made them many times and will make them many times again. The mint ones are for Eric because those are his favorite. Of course, mint everything is Eric's favorite. I few weeks ago I made him peppermint ice cream and he ate it all before I could snap a picture and post it here.

Usually orange chocolate is my favorite. Ironically, my mom used to give me one of those chocolate oranges in my stocking every year, and I hated them. I could never understand why she kept me one (probaby because I ate it anyway because it was, hey it's chocolate). Now I'm totally in love with the orange-chocolate combination. But these rum ones stole first place in my heart. Dark rum and chocolate, a match made in heaven.


Mint Chocolate Truffles
Ingredients:
12 ounce bag of semi-sweet chocolate chips
1 cup whipping cream
2 teaspoons mint extract
colored sugar, powdered sugar, cocoa powder, nuts, etc. for rolling

Directions:
In a saucepan, bring the whipping cream to a boil. Put chocolate chips in a large mixing bowl. Pour the cream over the chocolate and let sit for 3 minutes. Add mint extract and whisk the mixture until it's smooth. Refrigerate, uncovered, until the chocolate thickens, about 2 hours.

Line a cookie sheet with wax paper and spoon teaspoon-sized mounts of chocolate onto the wax paper. Don't worry about shaping into balls yet--the chocolate still needs to harden more before its workable. Refrigerate again for about 45 minutes.

Roll chocolate mounts into balls then roll the balls in sugar (or cocoa powder or nuts, your choice) and place them back onto the cookie sheet. To keep the chocolate from melting, only work with 2 or 3 mounts at a time while the rest remain in the refrigerator. Refrigerator the truffles for another hour then store in an air-tight container in the fridge. Yields between 50 and 60 truffles.

Rum Chocolate Truffles
Ingredients:
12 ounce bag of semi-sweet chocolate chips
1 cup whipping cream
1 tablespoon dark rum
colored sugar, powdered sugar, cocoa powder, nuts, etc. for rolling

Directions:
In a saucepan, bring the whipping cream to a boil. Put chocolate chips in a large mixing bowl. Pour the cream over the chocolate and let sit for 3 minutes. Add mint extract and whisk the mixture until it's smooth. Refrigerate, uncovered, until the chocolate thickens, about 2 hours.

Line a cookie sheet with wax paper and spoon teaspoon-sized mounts of chocolate onto the wax paper. Don't worry about shaping into balls yet--the chocolate still needs to harden more before its workable. Refrigerate again for about 45 minutes.

Roll chocolate mounts into balls then roll the balls in sugar (or cocoa powder or nuts, your choice) and place them back onto the cookie sheet. To keep the chocolate from melting, only work with 2 or 3 mounts at a time while the rest remain in the refrigerator. Refrigerator the truffles for another hour then store in an air-tight container in the fridge. Yields between 50 and 60 truffles.

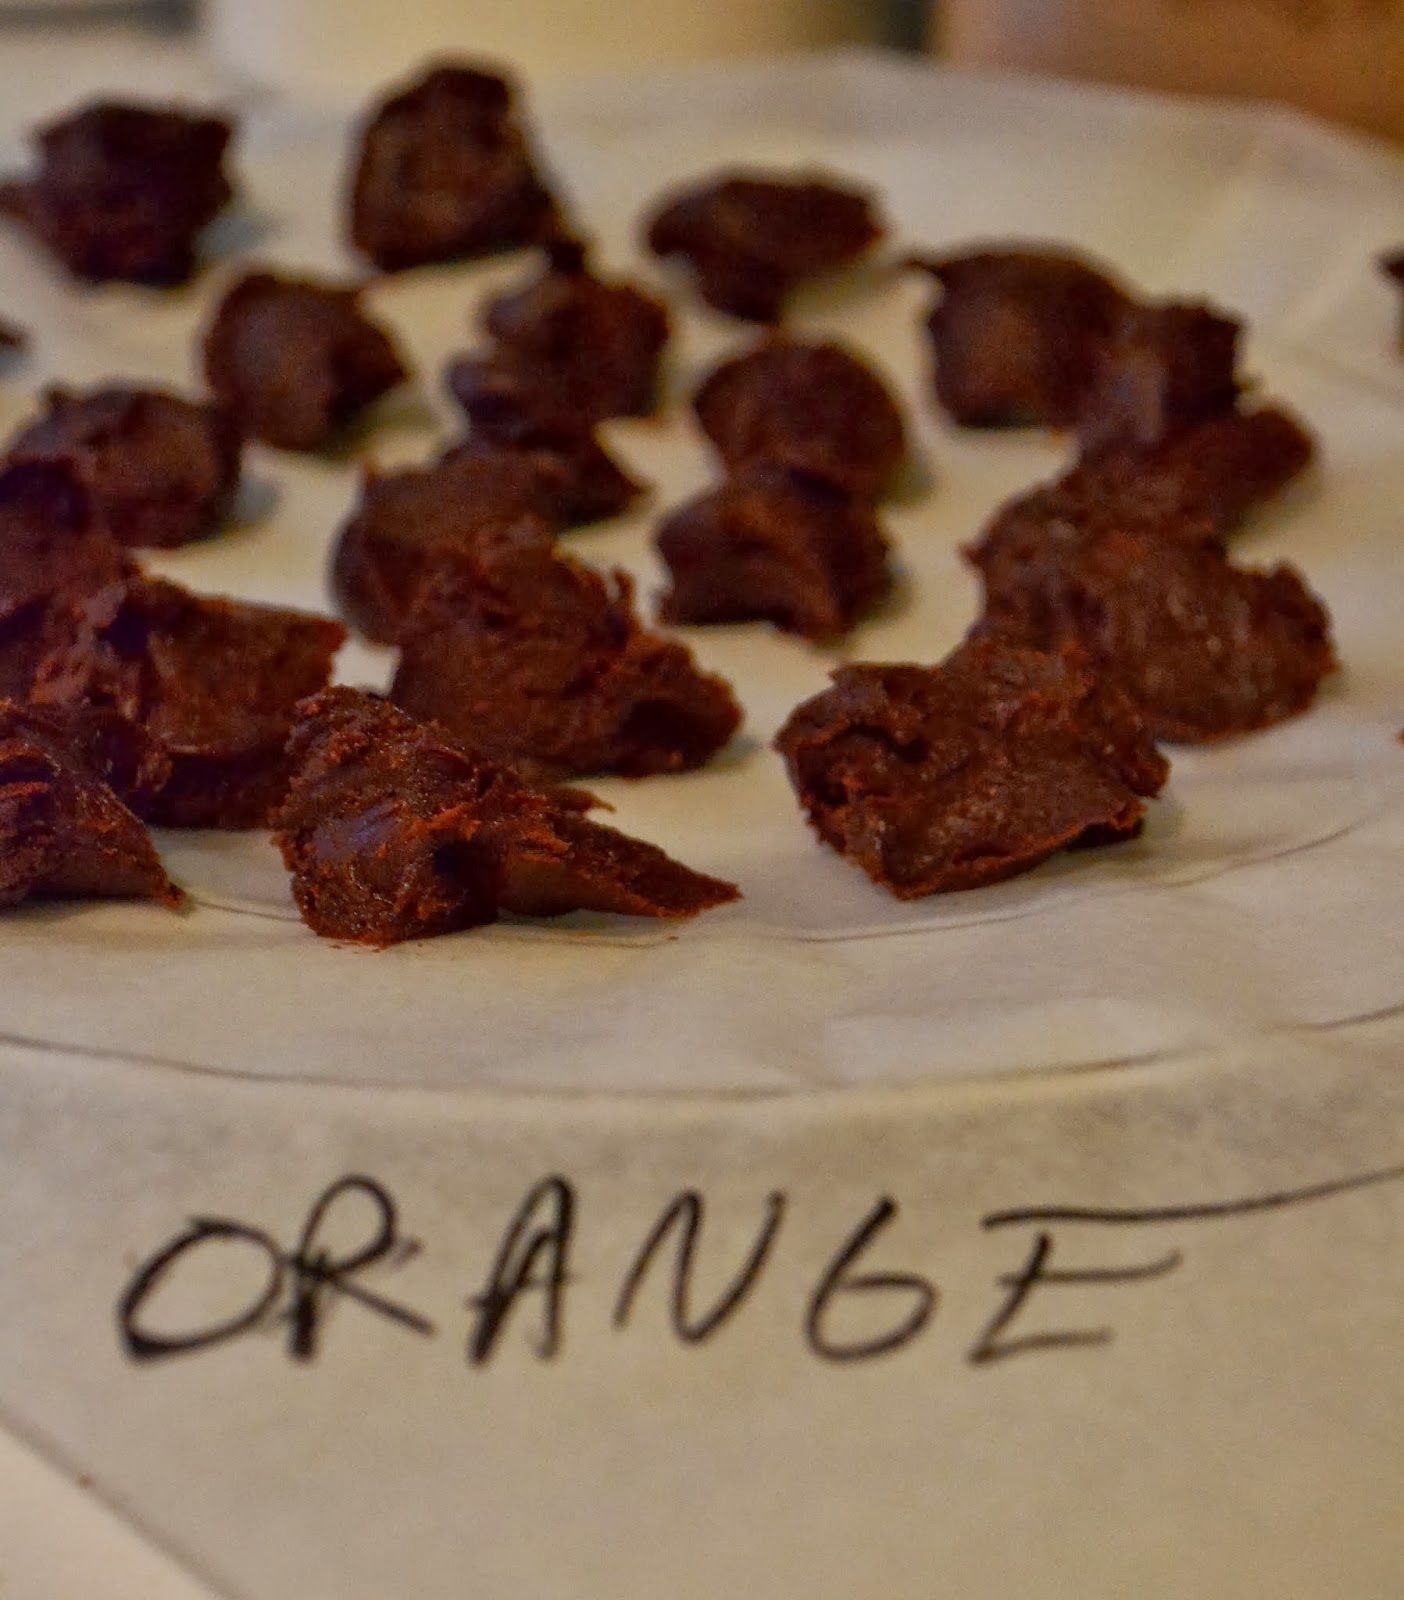
Orange Chocolate Truffles
12 ounce bag of semi-sweet chocolate chips
1 cup whipping cream
2 teaspoons orange extract
colored sugar, powdered sugar, cocoa powder, nuts, etc. for rolling

Directions:
In a saucepan, bring the whipping cream to a boil. Put chocolate chips in a large mixing bowl. Pour the cream over the chocolate and let sit for 3 minutes. Add mint extract and whisk the mixture until it's smooth. Refrigerate, uncovered, until the chocolate thickens, about 2 hours.

Line a cookie sheet with wax paper and spoon teaspoon-sized mounts of chocolate onto the wax paper. Don't worry about shaping into balls yet--the chocolate still needs to harden more before its workable. Refrigerate again for about 45 minutes.

Roll chocolate mounts into balls then roll the balls in sugar (or cocoa powder or nuts, your choice) and place them back onto the cookie sheet. To keep the chocolate from melting, only work with 2 or 3 mounts at a time while the rest remain in the refrigerator. Refrigerator the truffles for another hour then store in an air-tight container in the fridge. Yields between 50 and 60 truffles.


Enjoy!

~Krissy

Christmas 2013 Baking List
Dark Chocolate Cover Cranberries
Michigan Cranberry Brownies
Honey Cake
Soft and Chewy Gingerbread Men Cookies 
Christmas Kiss Cookies 
Cherry Snowball Cookies 
The Best Sugar Cookies

Thursday, December 12, 2013

Gingerbread House 2013

I didn't do a gingerbread house last year. Time just got away from me, which is a shame because they are so much fun to decorate. So I made time to do one this year. It's from a kit--I have yet to bake my own gingerbread house, though maybe one day.

Front


Meijer gingerbread house

The house came with: frosting, green fondant, pucker ups, mini beads, peppermint balls, and jelly dots.
I also used some of my own supplies. Coconuts flakes from the snow, yellow royal icing, various sprinkles, marshmallows, an ice cream cone.

Mini marshmallows, green sugar, icing, and an ice cream cone.
Here is a link on how to make the marshmallow tree. The man in the video frosts the ice cream cone. I had a hard time getting the marshmallows to stick that way. I had to dab each one with icing then attach it.

Side
I used the cookie cutter on the green fondant to make bushes.

Side
To make the Christmas tree in the window, I cut up some of the green gummy candies.

Back
The kit came with a snowman gingerbread cookie. At first I wasn't thrilled with a 2-dimensional snowman, but I think it turned out to one of my favorite things about the house.

Like an insane person, I hand placed every sprinkle. The effect was worth it though.
I may not done a gingerbread house last year but my mom did two! I forgot to post them last year so here they are:


This one is one of my all time favorite gingerbread houses that she's done. The exterior is covered in tootsie rolls and nuts.


Check out my other gingerbread houses!


Haunted Gingerbread House 2012
Haunted Gingerbread House 2013
Enjoy!

~Krissy