Tuesday, April 8, 2014

Chocolate Caramel Shortbread (or in other words, Twix Bars)

I think these were one of the first recipes I found when I joined Pinterest and I just finally got around to making them. Chocolate, caramel, shortbread . . . needless to say these didn't last long in our house. The only change I think I'd make would be salting the tops next time. I love a little salt with my chocolate and caramel.

Recipe adapted from here.


Ingredients:
Shortbread
10 tablespoons unsalted butter, melted
1/2 cup sugar
1/2 teaspoon salt
1 egg yolk, whisked
1 2/3 cups flour

Caramel
7 tablespoons butter
1/4 cup and 2 tablespoons brown sugar
1/4 cup sugar
1/4 cup and 2 tablespoons light corn syrup
1 teaspoon salt
2 tablespoons heavy cream
2 teaspoons vanilla extract

Chocolate Topping
1 cup semi-sweet chocolate chips

Directions:
Shortbread
Grease an 8x8 baking dish with cooking spray.

In a large mixing bowl, combine the butter, sugar, and salt. Add egg yolk and combine. Pour in flour and combine. The mixture will be crumbly. Use your hands to turn the mixture into a dough. Press the dough into the pan. Refrigerate for 1 hour.

Preheat oven to 350 degrees. Bake for approximately 30 minutes or until the edges turn a very light brown. Allow to cool completely.

Caramel
In a heavy bottom sauce pan, combine butter, brown sugar, sugar, corn syrup, salt, and cream. Bring to a boil, stir continuously. Make sure the sugar dissolves. Using a candy thermometer, bring mixture to 245 degrees, stirring frequently. Remove caramel from heat and stir in vanilla extract. Allow the caramel to cool for approximate 10 minutes then pour over the shortbread.

Refrigerate for 20 to 30 minutes.

Chocolate Topping
Place the chocolate chips in a microwave-safe bowl. Microwave on high for 30 seconds, stir, and repeat until the chocolate is melted and smooth. (1 minute, 30 seconds worked for me). Pour over caramel and shortbread. (Top with kosher salt, if desired).

Refrigerate for 1 hour or until the dessert has set.

Remove dessert from pan. With a knife, cut into bite-size pieces.

I'm not going to lie, storage of these things is a little tricky. If you keep them in fridge, the caramel gets too hard to eat. If you store them at room temperature, the caramel melts and you end up with a gooey mess. So I stored them in an airtight container in the fridge then set them out for about 10 to 15 minutes before serving.


Enjoy!

~Krissy

More Dessert Recipes:
Chocolate Swirl Cake (Made with Swiss Cake Rolls)
Caramelitas 
Cranberry Brownies
White Chocolate Hazelnut Cream Pie
Soft Oatmeal Raisin Cookies
Spiced Rum Brown Butter Cookies

Monday, April 7, 2014

Roasted Kidney Beans

You may have noticed that I've been on a roasted vegetable kick lately. First there were roasted chickpeas, then roasted green peas, then roasted butter beans. The only bean left in my pantry to roast were kidney beans--another healthy snack to add to my repertoire.


Ingredients:
15-ounce can of kidney beans, drained and rinsed
Lemon pepper seasoning (or seasoning of your choice--you may have noticed I LOVE lemon pepper seasoning)

Directions:
Preheat oven to 450 degrees. Grease a cookie sheet with cooking spray.

Pat the beans dry with paper towel. Spread them on the cookie sheet in a single layer.

Bake for 20 minutes, flipping the beans half way through cooking.

Season with lemon pepper seasoning.


Enjoy!

~Krissy

More Healthy Snacks:
Baked Apple Chips
Banana Chips
Kale Chips
Parmesan Garlic Wonton Crackers 
Roasted Butternut Seeds
Roasted Cauliflower Popcorn
Roasted Garlic White Bean Hummus 

Sunday, March 23, 2014

Crunchy Roasted Butter Beans

I'm always looking for healthier snacks. Roasted chickpeas, roasted peas, zucchini chips are just a few of my favorites. For some reason I had a can of butter beans in my pantry (a gift for our pantry wedding shower, maybe?) and had no idea what to do with them. So I decided to roast them. They're crispy on the outside, tender on the inside, and addicting.


Ingredients:
1 15-ounce can butter beans, drained and rinsed
Lemon Pepper Seasoning (or the spice of your choice)

Directions:
Preheat oven to 450 degrees. Grease a cookie sheet with cooking spray.

Pat the beans dry with paper towel. Spread them on the cookie sheet in a single layer.

Bake for 20 minutes, flipping the beans half way through cooking.

Season with lemon pepper seasoning.


Enjoy!

~Krissy

More Healthy Snacks: 
Baked Apple Chips
Roasted Butternut Seeds
Kale Chips
Yellow Squash Chips 
Yogurt-Covered Blueberries

Pizza Inspired Chicken

I don't think I've ever met anyone who loves pizza more than my husband. I swear, he could happily eat it every day. But he only likes it one way: with pepperoni, which for me gets pretty boring. So I decided to try something a little different, keeping my fingers crossed that Eric would like it. He absoultely loved it. (I like it too.) It's definitely going into our meal rotation.

Recipe adapted from here.


Ingredients:
1 egg
1/4 cup milk
1/4 cup flour
1 cup Panko breadcrumbs
2 large boneless, skinless chicken breasts
salt
pepper
1 cup pizza sauce
1 teaspoon dried basil
1 teaspoon dried oregano
1 teaspoon dried parsley
1/4 cup Parmesan, grated
1 cup mozzarella, shredded
10 pepperonis, chopped

Directions:
Preheat the oven to 350 degrees. Grease a baking dish with cooking spray.

In a shallow dish, combine flour with salt and pepper. In a bowl, beat egg and milk together. In a second shallow dish, combine breadcrumbs, basil, oregano, and parsley.

Dredge the chicken breast in the flour. Dip the breasts in the egg mixture and shake off excess liquid. Coat the chicken in breadcrumbs and place in baking dish.

Bake for 50 minutes or until chicken is thoroughly cooked. Remove from oven, pour pizza sauce over the chicken. Sprinkle with mozzarella, Parmesan, and pepperoni pieces. Turn oven to broil and bake for another 5 to 10 minutes or until cheese bubbles.


Enjoy!

~Krissy

More Pizza Recipes:
Buffalo Chicken Pizza
Cauliflower Pizza Crust
Homemade Pizza Rolls
Ricotta, Basil, and Sun-dried Tomato Pizza 
The Pizza Quiche
Pizza Zucchini Boats

Saturday, March 22, 2014

Fried Dill Pickles

Eric loves dill pickles. If we go out to eat and I order a sandwich (sandwiches always seem to come with a pickle), he never fails to ask if he can have it. So when I saw these fried pickles, I had to make them for him.

Recipe slightly adapted from here.


Ingredients:
Sliced dill pickles (approximately 36)
1 1/2 cup Panko breadcrumbs
Oil for frying
1 cup flour
salt
pepper
1 cup milk
1 egg
1 teaspoon paprika
1/2 teaspoon dried dill

Directions:
In a heavy-bottomed sauce pan, heat oil to between 360 and 370 degrees using a candy thermometer.

In a shallow dish, combine the flour with salt and pepper. In a second shallow dish, beat egg and milk together. In a third shallow dish, combine the breadcrumbs with paprika and dill.

Pat the pickles dry with paper towel. Dredge the pickles in the flour then in the egg mixture. Shake off excess liquid then coat the pickles in the breadcrumbs.

Fry the pickles in small batches for 3 to 4 minutes or until they turn brown and crispy. Place on a paper towel-lined plate to absorb any excess oil.

Serve with dip such as marinara sauce or ranch dressing.


Enjoy!

~Krissy

More Appetizer Recipes:
Bacon and Cheese Deviled Eggs 
Cheese Puffs for Cheese Lovers!
Homemade Pita Chips 
Spinach Balls with a Spicy Tomato Dipping Sauce 
Roasted Peas

Friday, March 14, 2014

Homemade Pita Bread

Whenever we have hummus or any other kind of dip, I can happily replace the chips and crackers with pita bread. I've made pita bread from scratch with a different recipe. The bread would puff up and made that pocket in the oven, but as soon as they cooled the bread would fall and fuse together. I finally tested out a new pita bread recipe and this one works so much better. And since I had pita bread, and went ahead and made a roasted garlic white bean hummus.

Recipe from here.


Ingredients:
1 tablespoon active dry yeast
1 1/4 cups warm water
1 teaspoon salt
3 to 3 1/2 cups flour

Directions:
Combine the yeast and water in the bowl of an electric mixer and let sit for 5 minutes. Add salt and 1 1/2 cups flour. With the dough hook attached to your mixer, combine until you have a batter. Add another 1 1/2 cups flour. Knead the dough until it is smooth and elastic, about 8 to 10 minutes. If the dough is still very sticky, add more flour.

Transfer dough to a lightly floured work surface. Divide it into 8 sections (you can separate it into smaller sections for smaller pitas or larger sections for larger pitas). Roll the dough into balls then use a rolling pin to flatten them into rounds with a thickness between 1/4 and 1/8-inch. Make sure to keep the thickness even because this is what makes them puff up.

Allow the dough to rest on the floured surface for 40 minutes. You'll notice the dough rise slightly.

Preheat oven to 425 degrees. Lightly grease a baking sheet with cooking spray.

Using a spatula, flip the rounds upside down onto the baking sheet. Bake for 10 to 15 minutes or until the dough is puffed and a light golden brown.


Store in an airtight container in the fridge.


Homemade pita bread with white bean hummus
Enjoy!

~Krissy

More Bread Recipes:
Chocolate Chip Banana Bread in a Mug 
Homemade Bread Sticks 
Parmesan Onion Rolls
Pull-Apart Spinach and Cheese Bread
Pumpkin Bread!
Sour Cream Dinner Rolls 

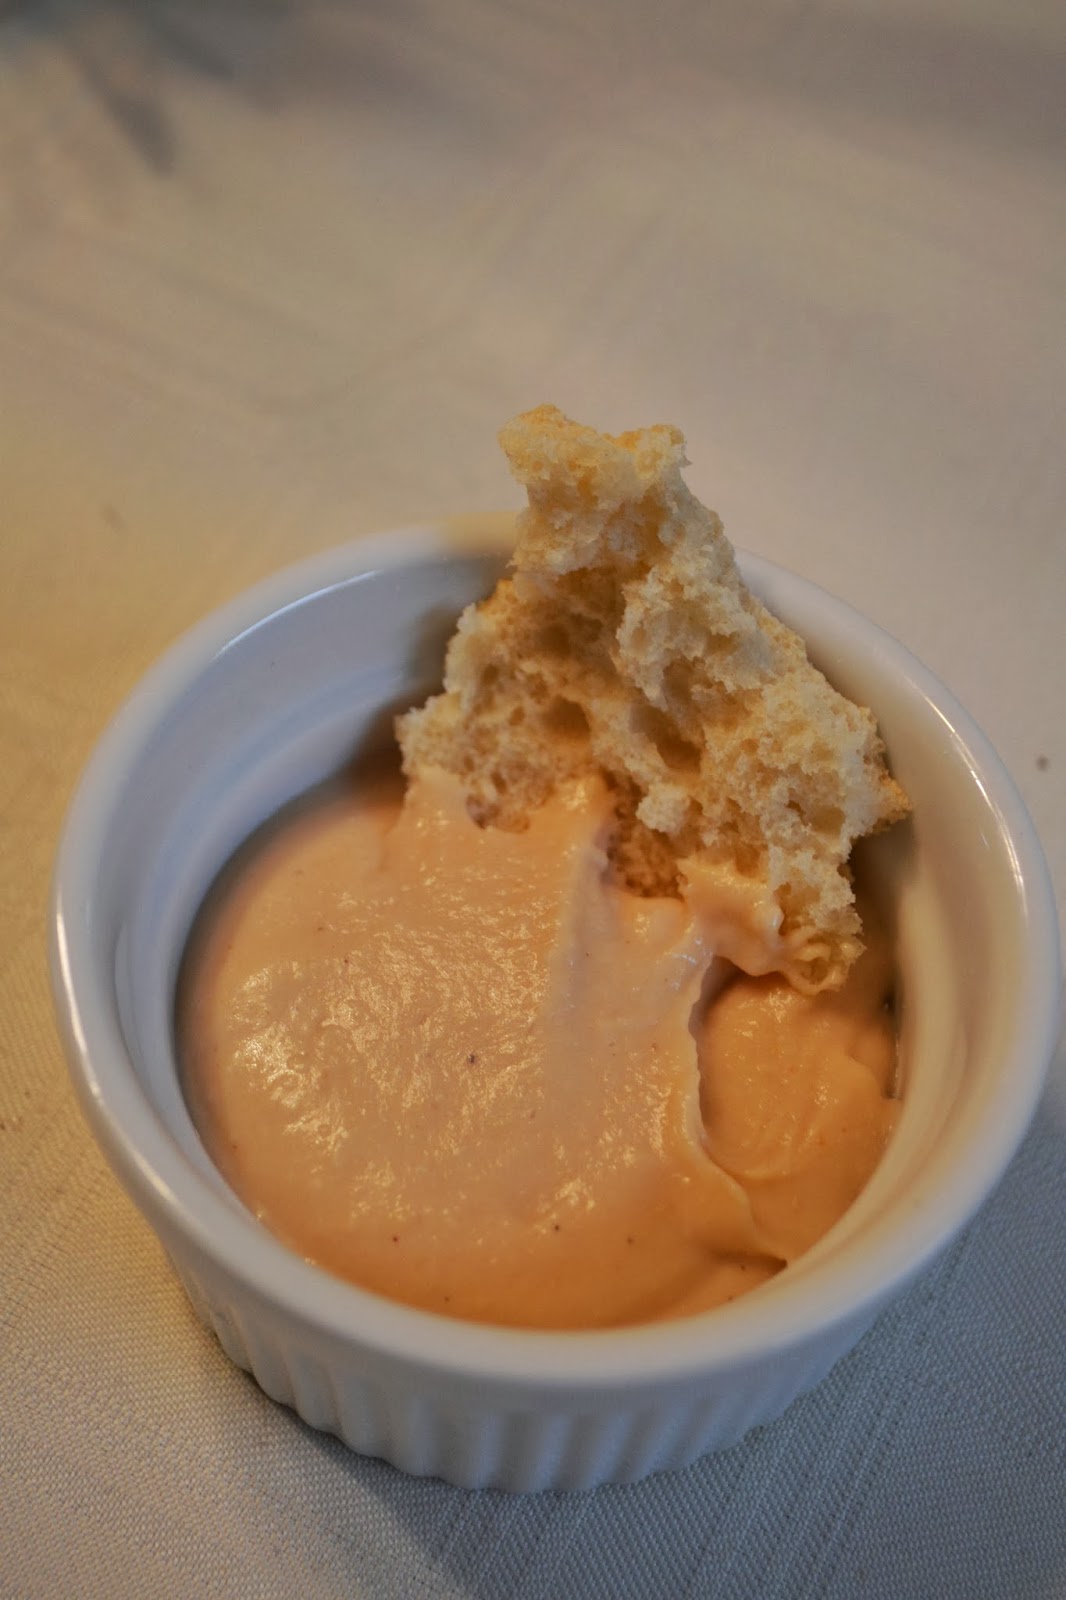
Roasted Garlic White Bean Hummus

I was making pita bread and decided I needed something to go with it so I decided to make a dip. I had a head of garlic and a can of Great Northern beans in the pantry. Did a little googling, found a recipe, then changed it up to suit what I had in the house, and I couldn't be happier with the outcome. The best part--I get it all to myself. In general, Eric doesn't like any type of white beans (I think I have one recipe he'll eat them in) but I love them. He wasn't thrilled with the dip which mean I get it all!

Recipe adapted from here.


Ingredients:
1/4 cup olive oil
1 head of garlic, roasted (recipe below)
1 15.8-ounce can of Great Northern beans, rinsed and drained
1 1/2 tablespoons lemon juice
1/2 teaspoon cumin
salt, to taste
pepper, to taste
Directions:
Roasted Garlic
Preheat oven to 400 degrees.

Peel away the outer layers of the garlic head skin, however, don't peel the skins of the individual cloves. With a knife, cut off the top of the cloves--about1/4 to a 1/2 inch of the top--so you can see the inside of the individual cloves.

Drizzle the top with olive oil then wrap the garlic head in tin foil. On a cookie sheet, bake for 30 to 40 minutes or until the cloves feel soft.

Allow the garlic to cool. Separate the individual cloves from the head then pinch the end of the cloves so the garlic inside shoots out.

Hummus
Place the beans, roasted garlic, lemon juice, and cumin in a food processor. Process until smooth. Pour in olive oil and process. Season with salt and pepper.


Enjoy!

~Krissy

More Appetizer Recipes:
Bacon and Cheese Deviled Eggs
Cheese Puffs for Cheese Lovers!
Homemade Bread Sticks
Homemade Pita Chips 
Homemade Pizza Rolls
Hot Spinach and Artichoke Dip
Jalapeno Popper Wontons